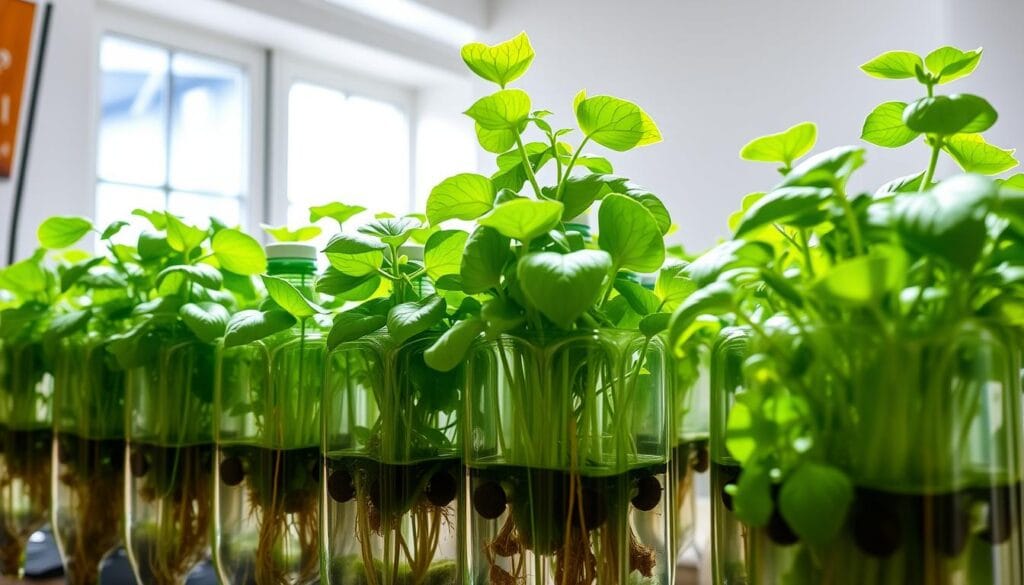
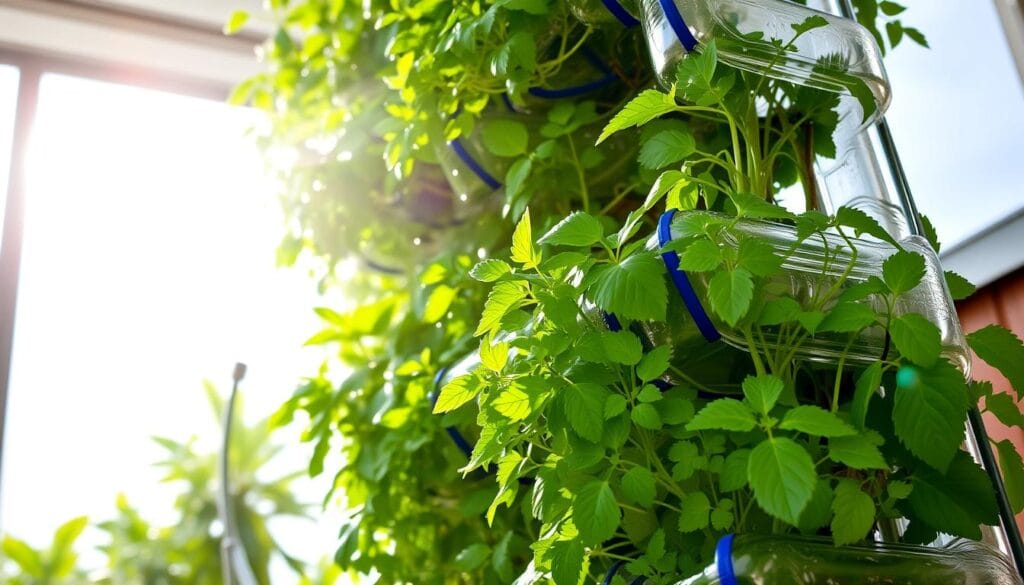
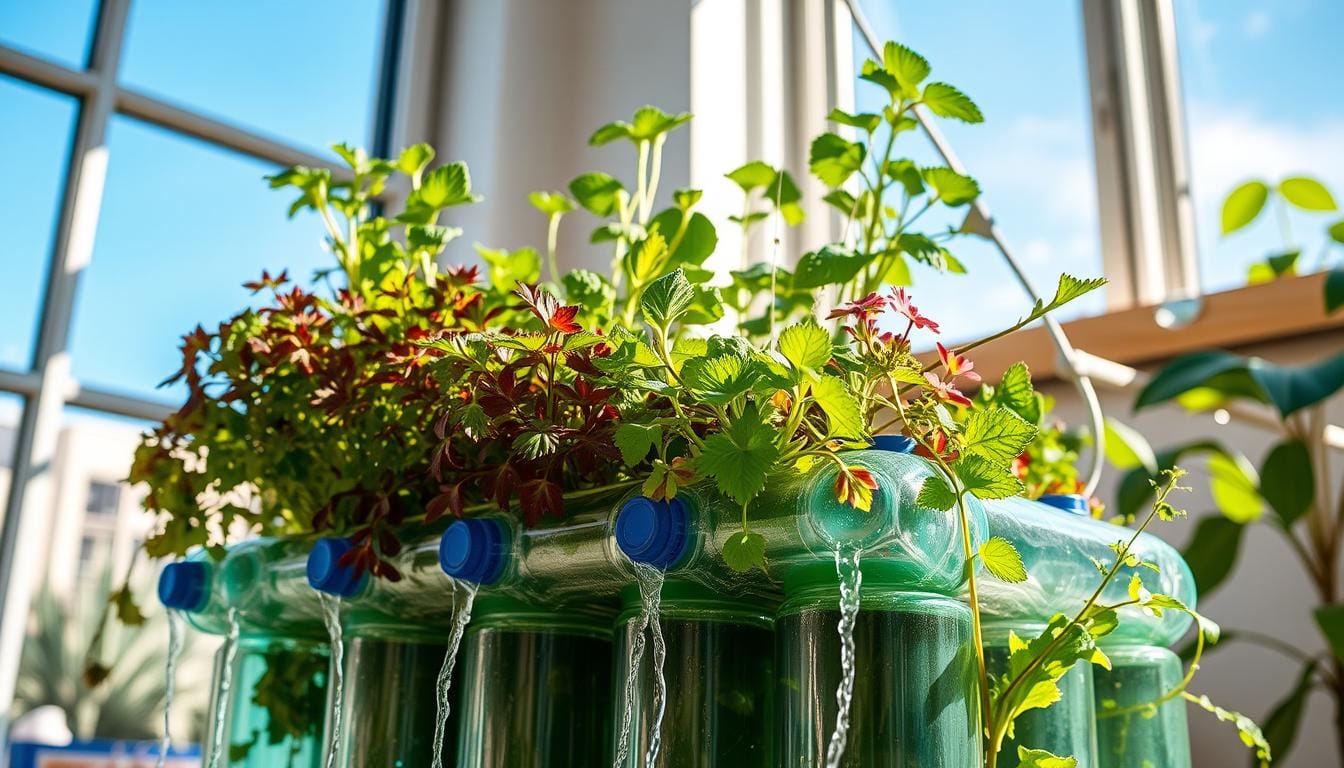
Imagine turning your home into a lush, green oasis. Your favorite plants can grow without the need for soil. Hydroponic gardening is a new way that’s gaining popularity fast. It’s all about growing plants in water, and it’s amazing.
As someone who loves gardening, I’ve seen how hydroponics can make plants grow faster and use less water. I’m thrilled to show you how to make your own hydroponic garden. You can use plastic bottles, which you might already have at home.
Key Takeaways
- Hydroponic gardening can boost plant growth by 30%-55% compared to soil-based methods.
- DIY hydroponic systems using plastic bottles are an inexpensive alternative to traditional setups.
- Recycling household items like bottles and cans can make your gardening project eco-friendly.
- Hydroponic systems consume much less water compared to conventional soil-based gardening.
- Creating a self-watering hydroponic garden with plastic bottles is a simple and rewarding project.
Understanding Hydroponic Gardening Basics
Hydroponic gardening is a method of growing plants without soil, where they receive their nutrients from a water-based solution. This method helps plants grow faster than traditional gardening.
It uses less water and keeps plants clean. It’s great for growing in small spaces, perfect for vertical farming and eco-friendly gardening in cities.
How Hydroponics Works
In hydroponics, plants’ roots soak in a nutrient solution. This means no soil is needed. The solution keeps flowing, giving plants what they need to grow well.
This setup lets you control the growing space.
It promotes faster and stronger plant growth.
Benefits of Soilless Growing
- Plants grow better and faster in less space
- Uses less water than traditional gardening
- No weeds, pests, or diseases from the soil
- Can grow plants all year, even when it’s bad outside
Growth Rate Advantages
Hydroponic gardening makes plants grow faster. Plants get all the nutrients they need right away. This means they can grow and produce food sooner.
They don’t spend time finding nutrients in soil. This leads to quicker harvests and more food in a small area.
| Crop | Hydroponic Growth Rate | Soil-Based Growth Rate |
|---|---|---|
| Lettuce | 25-30 days | 45-60 days |
| Tomatoes | 60-90 days | 90-120 days |
| Basil | 20-30 days | 45-60 days |
“Hydroponic gardening lets me grow fresh, healthy food all year. It’s amazing for vertical farming and eco-friendly gardening in small spaces.”
– Jane Doe, Sustainable Urban Farmer
Required Materials and Tools for Your Project
Starting a hydroponic garden with recycled plastic bottles is easy on the wallet. It lets you grow your own food at home. You’ll need some basic materials and tools. Luckily, you can find them all at home or at the local hardware store.
Here’s what you’ll need for your DIY hydroponic garden:
- Plastic water bottles in various sizes, depending on the scale of your project
- Cutting tools such as a razor, blade, knife, or scissors to modify the bottles
- A marker for marking and measuring the bottles
- An awl or drill to create holes for the plant roots and water flow
- Perlite, a lightweight growing medium that helps with water retention and aeration
- Water-resistant tape, preferably duct tape, to seal and secure the bottle components
- Cotton yarn or a wicking product to help transport water and nutrients to the plants
- Clean water and a nutrient solution formulated for hydroponics or herbs
- Liquid fertilizer to supplement the nutrient solution, if desired
With these simple and affordable items, you can turn plastic bottles into a indoor gardening system. This system saves water and uses recycled bottles. Now, you can make your hydroponic dreams come true!
Hydroponic Garden with Plastic Bottles: Step-by-Step Setup
Turning plastic bottles into a hydroponic garden is a fun, eco-friendly DIY project. It brings sustainable gardening to your home. This guide will help you create a diy hydroponics system with recycled bottles, whether you’re new or experienced.
Preparing the Bottles
First, gather your plastic bottles. Pick sturdy, clear ones that fit your plants. Clean and dry them well for a healthy growing space. Use a knife or scissors to cut the bottles in half.
The top will be your growing chamber, and the bottom will hold the nutrient solution.
Creating the Growing Chamber
In the top bottle section, drill holes at the bottom for drainage. This prevents waterlogging. Then, cut a small slit near the top for a wick.
This wick, from cotton yarn or twine, will draw the nutrient solution up to the roots.
Setting Up the Nutrient System
The bottom bottle section is for the nutrient solution. Fill it with a balanced hydroponic nutrient solution, following the instructions. Insert the wick into the solution, making sure it reaches the bottom.
Place your seedlings or young plants in the growing chamber. Secure them with the wick. With care and attention, your diy hydroponics system will grow fresh produce sustainably and eco-friendly.
“Hydroponic gardens use up to 90% less water than traditional soil-based gardening.”
Selecting the Right Plants for Your System
When setting up your hydroponic garden, it’s key to pick plants that do well in water. Urban gardening, indoor gardening, and vertical farming fans should choose wisely. This ensures a healthy and productive garden.
Herbs, leafy greens, and some veggies are great for hydroponics. They grow fast and well in the nutrient-rich water. But, avoid plants that like dry soil, like cacti, as they might rot in the moist hydroponic system.
Think about the size of your hydroponic bottles when picking plants. Go for small, quick-growing types that won’t outgrow their space. Here are some good picks:
- Herbs: Basil, mint, parsley, chives
- Leafy greens: Lettuce, spinach, kale, chard
- Vegetables: Cherry tomatoes, green beans, radishes, microgreens
Microgreens are especially good for hydroponics, growing in just 1-3 weeks. They’re perfect for urban gardening with little space. Green onions and celery are also quick to grow.
For those more into hydroponics, try adding flowers. They’re not just pretty; they can be very profitable. Marigolds, zinnias, and sunflowers can brighten up your indoor garden.
| Plant Type | Suitability for Hydroponics | Growth Rate |
|---|---|---|
| Herbs | Excellent | Fast |
| Leafy Greens | Excellent | Fast |
| Microgreens | Excellent | Very Fast (1-3 weeks) |
| Flowers | Good | Varies |
| Root Vegetables | Poor | Slow |
| Large Fruit Trees | Poor | Slow |
By picking the right plants for your hydroponic system, you can have a thriving indoor garden. It will give you a lot of fresh herbs, greens, and veggies, all without soil.

Nutrient Solutions and Water Management
Keeping your hydroponic garden with plastic bottles balanced is key. You need to give plants the right nutrients and check the pH levels. Also, changing the water often is important to keep the plants healthy.
Essential Nutrients
It would be best to have a good nutrient solution for your hydroponic garden to do well. Plants require nitrogen, phosphorus, and potassium for healthy growth. Nitrogen helps leaves grow, phosphorus helps roots and flowers, and potassium keeps plants strong and healthy.
pH Balance Monitoring
It’s important to keep the pH right in your hydroponic garden. The optimal pH range for plant growth is between 5.5 and 6.5. Testing and adjusting the pH regularly helps plants grow well.
Water Change Schedule
- Change the water regularly to keep nutrients fresh.
- Do it every 7-10 days or when you see a drop in nutrients or pH rise.
- This keeps plants getting the nutrients they need to grow well.
Good nutrient solution and water care are vital for a healthy hydroponic garden. By following these tips, you’ll enjoy a lot of produce and feel good about saving water.
Maintenance and Care Guidelines
Keeping a diy hydroponics garden healthy needs regular care. You must watch the water levels, nutrient balance, and keep the system clean. This is key for a successful sustainable gardening project.
First, check the water level in your hydroponic system often. If it’s too low, it can harm your plants. Make sure to refill it when needed, keeping the water at the right level.
Cleaning your system is also important. Clean the container walls, check the wicking material, and remove any debris or algae. This stops harmful bacteria and keeps oxygen levels right for your plants.
Lighting is crucial for your plants’ health. If you’re growing indoors, make sure they get the right light. LED grow lights are a good choice because they’re energy-saving and work well for growing plants.
- Monitor water levels and refill as needed to maintain the recommended level.
- Clean the system regularly, removing debris and preventing algae buildup.
- Provide the appropriate lighting, especially for indoor hydroponic gardens, using energy-efficient LED grow lights.
- Inspect the wicking material periodically and replace it if necessary to ensure efficient nutrient and water delivery.
- Regularly test and adjust the pH level of the nutrient solution to maintain the optimal range for your plants.
By following these tips, your diy hydroponics garden will flourish. It will give you plenty of sustainable gardening harvests.
Troubleshooting Common Issues
Keeping a hydroponic garden with plastic bottles healthy needs constant watch and quick action. You might face problems like sick plants, system failures, or water flow issues. It’s key to fix these fast to keep your eco-friendly gardening project thriving.
Plant Health Problems
Issues like nutrient shortages, pests, or diseases can harm your plants. Watch for signs like yellow leaves, slow growth, or droopy plants. Fix these problems by tweaking nutrients, adding good bugs, or using organic treatments.
System Malfunctions
It’s vital to regularly check and care for your hydroponic setup. Look for blockages, broken pumps, or bad wicking that messes with nutrient and water flow. Fix any problems by cleaning, fixing, or swapping out parts to keep your hydroponic garden with plastic bottles running smoothly.
Water Flow Issues
Good water flow and nutrient spread are key for plant growth. Keep an eye on water levels, pH, and nutrient levels. Adjust your watering and nutrient mix to keep your eco-friendly gardening setup perfect for growth.
By tackling common problems and tweaking your hydroponic garden with plastic bottles, you can make sure it stays healthy and productive for a long time.
Tips for Optimal Growth and Yield
To make your urban garden or vertical farm thrive, you need more than just a hydroponic system. Here are some key tips to boost your plant growth and yield:
First, make sure your plants get enough light. Use natural sunlight or grow lights for 12 to 16 hours a day. This helps with photosynthesis. Also, good air circulation is vital. It keeps diseases away and helps roots grow well.
Keep the temperature and humidity right for your plants. The air should be about 60°F (15.6°C). The nutrient solution should be between 68-75°F (20-24°C).
Try different nutrients and plant types to see what works best for you. Regularly check the EC (electrical conductivity) and pH levels of the nutrient solution. Adjust them to keep the levels between 2.5 – 3.0 EC and 6.5 – 7.0 pH.
For a compact and productive garden, think about vertical growing. It lets you grow more in less space, without taking up more room.
| Tip | Description |
|---|---|
| Adequate Lighting | Provide 12 to 16 hours of illumination per day, either through natural sunlight or artificial grow lights. |
| Optimal Temperature and Humidity | Maintain air temperature around 60°F (15.6°C) and nutrient solution temperature between 68-75°F (20-24°C). |
| Nutrient Management | Experiment with different nutrient concentrations and monitor EC and pH levels to find the ideal balance. |
| Vertical Gardening | Implement vertical growing techniques to maximize space and increase overall yield. |
By following these tips, you can make your urban gardening, vertical farming, and sustainable gardening projects flourish. You’ll get a rich harvest from your hydroponic system.

“The key to a thriving hydroponic garden is finding the right balance of light, temperature, nutrients, and air circulation. With a little experimentation, you can unlock the true potential of your urban oasis.”
Conclusion
Creating a hydroponic garden with plastic bottles is a smart, green, and space-saving way to grow plants. This DIY method cuts down on waste and lets you grow fresh herbs and veggies all year. With the right care, your hydroponic garden with plastic bottles will keep giving you fresh produce. It also helps you garden in an eco-friendly way.
Using plastic bottles for gardening is a clever way to reuse and save resources. Hydroponic gardening uses less water, grows plants faster, and controls pests better. It’s becoming a favorite for city folks and small gardeners.
If you want to save money, help the planet, or just enjoy growing your own food, try a DIY hydroponic garden. This article shows you how to turn your space into a green oasis. It’s a fun and easy way to make a difference for our planet’s future.

