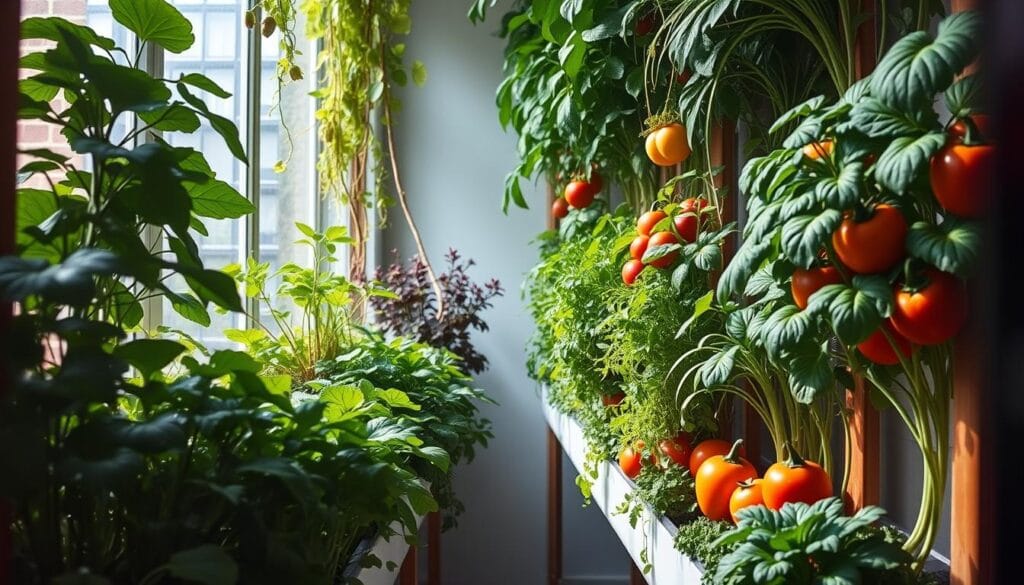
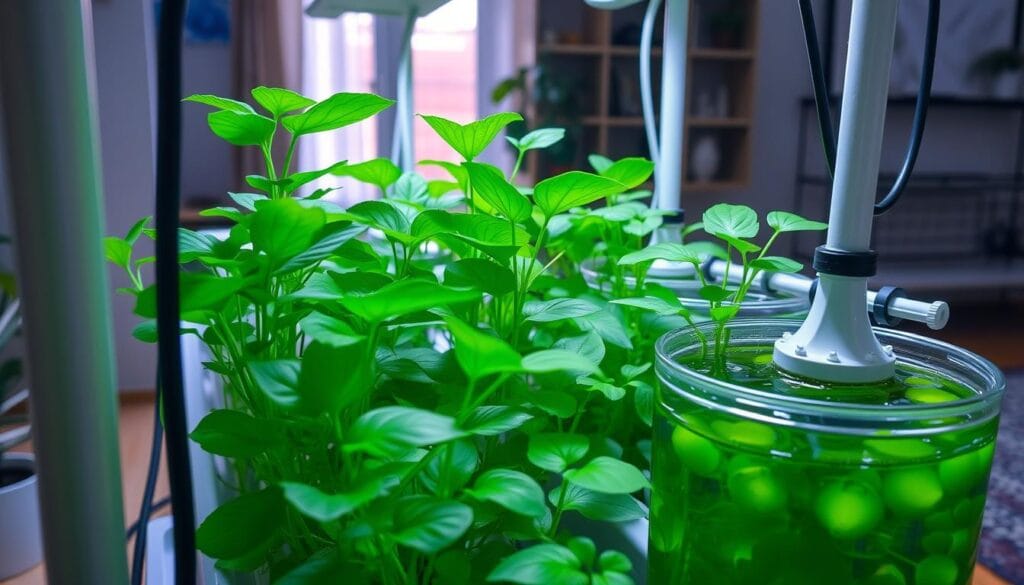
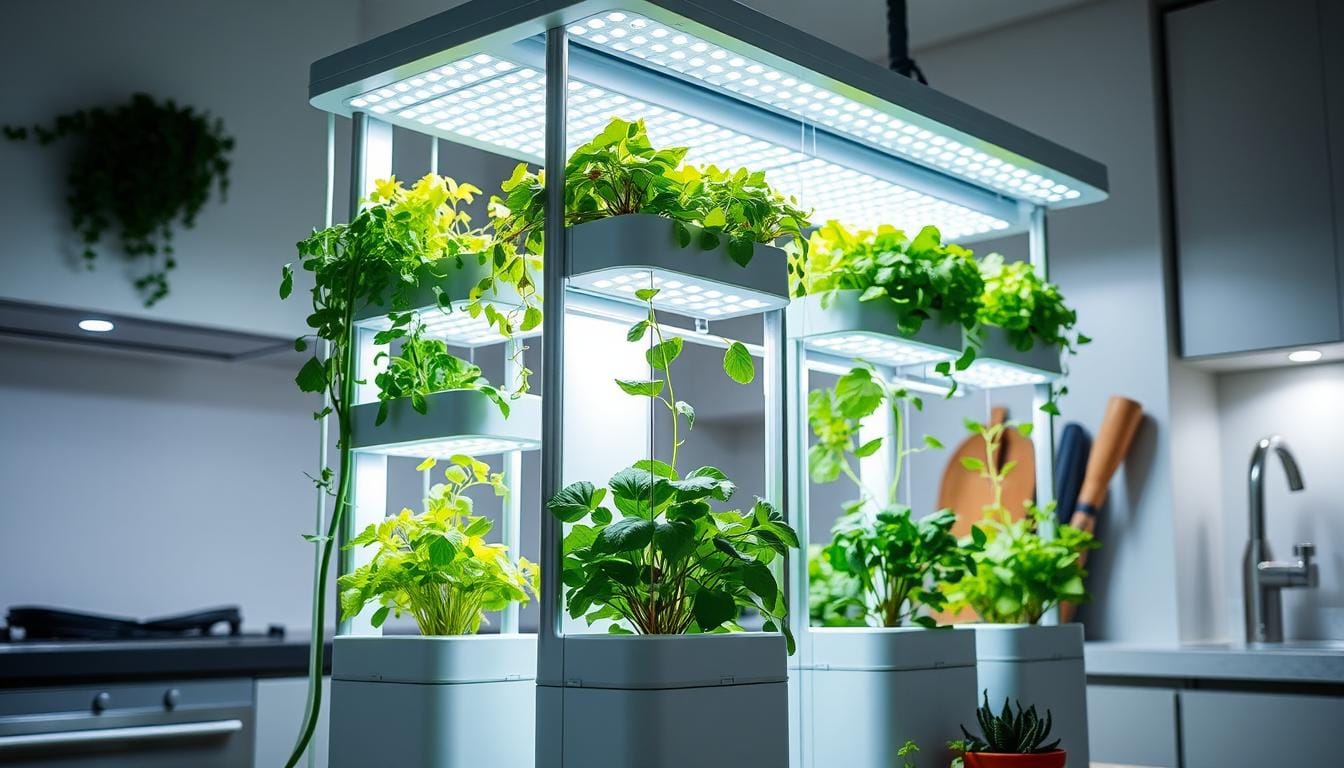
As winter’s chill sets in, my indoor hydroponic garden is a warm, green haven. It’s where I watch my plants grow under grow lights. This reminds me of the joy of growing my own food, even when it’s cold outside. If you want to bring your garden inside, this guide will show you how in just five easy steps.
Hydroponic gardening grows plants without soil, using water full of nutrients. This method is water-efficient, growing plants up to 90% faster than soil gardening. It also saves space and lets you control your harvest. With an indoor hydroponic system, you can enjoy fresh produce all year, no matter the weather.
Key Takeaways
- Hydroponic gardening uses nutrient-rich water instead of soil to grow plants, offering increased efficiency and productivity.
- Indoor hydroponic systems allow you to cultivate a thriving garden year-round, even in harsh climates.
- Setting up an indoor hydroponic system involves choosing the right equipment, media, and plant varieties for your space.
- Proper maintenance and monitoring are key to ensuring the success of your indoor hydroponic garden.
- Hydroponic gardening can be a cost-effective and space-saving way to grow your own fresh produce at home.
Understanding Hydroponic Gardening Basics
Hydroponics is a cool way to grow plants indoors without soil. It uses a water solution full of nutrients for plants to grow well. This method is great for both new and experienced gardeners wanting a lush indoor garden.
What is Hydroponics?
“Hydroponics” comes from “hydro” (water) and “ponos” (labor). It means growing plants in water with nutrients. This way, plants get what they need to grow fast and strong.
Benefits of Soilless Cultivation
- Plants grow faster and produce more than in soil.
- It saves space, perfect for small areas.
- Less water is used because it’s recycled.
- No weeds, pests, or diseases in the soil.
Common Hydroponic Growing Methods
There are many hydroponic ways to grow plants. Each has its own benefits and works best for certain plants. You can choose from wick systems, water culture, ebb and flow, nutrient film technique (NFT), and aeroponics. Knowing about these can help you pick the right method for your garden.
| Hydroponic Method | Description | Suitable Plants |
|---|---|---|
| Wick System | A simple, passive system where a wick draws nutrient solution from a reservoir to the plant roots. | Herbs, leafy greens, strawberries |
| Water Culture (Lettuce Raft) | Plants float on a raft suspended in a nutrient-rich water solution. | Leafy greens, herbs |
| Ebb and Flow (Flood and Drain) | A system that periodically floods the plant roots with nutrient solution and then drains it back into the reservoir. | Tomatoes, peppers, herbs, leafy greens |
| Nutrient Film Technique (NFT) | A shallow stream of nutrient solution continuously flows over the plant roots. | Lettuce, herbs, strawberries |
| Aeroponics | Plants are suspended in the air, and their roots are periodically misted with a nutrient-rich solution. | Leafy greens, herbs, tomatoes, potatoes |
Learning about hydroponics and its methods is the first step to starting your indoor garden. You can begin your hydroponics for beginners journey. Soon, you’ll have a lush soilless cultivation garden at home or in your indoor gardening space.
Essential Components of an Indoor Hydroponic System
Creating a thriving indoor hydroponic system needs a special set of parts. These parts work together to give your plants the best chance to grow. Whether you’re into diy hydroponics or automated hydroponics, knowing the key components is crucial. Let’s look at the main parts of a successful indoor hydroponic system.
- Container or Reservoir: This is the core of your hydroponic setup. This reservoir houses the nutrient solution essential for feeding your plants.
- Grow Tray: This is where your plants will be placed. It lets their roots get the nutrient solution they need.
- Net Pots: These special containers hold your plants and growing medium. They suspend the roots in the perfect spot.
- Air Pump and Air Stone: These are key for oxygenating the water. They help your plants “breathe” and grow well.
- Water Pump (optional): This pump circulates the nutrient solution. It provides the essential nutrients your plants need.
- Grow Lights: These are vital for indoor setups. They give the light your plants need for photosynthesis.
- Hydroponic Nutrients: These are a mix of nutrients that feed your plants. They’re balanced to help your plants grow.
- pH Testing Kit: This kit lets you check and keep the pH level right. It’s important for nutrient absorption.
- Timer (optional): This timer automates watering and lighting. It eases the process of caring for your plants.
- Thermometer (optional): This helps you keep an eye on and control the temperature. It’s key for healthy growth.
The type of indoor hydroponic system you pick might change the parts you need. But these 10 elements are the base for a great hydroponic garden. They’re good for both beginners and experienced diy hydroponics fans.
“Hydroponics allows you to cultivate healthy, nutrient-rich plants in a controlled environment. It uses 90% less water than traditional gardening.”
Choosing the Right Location for Your Setup
Choosing the right spot for your indoor hydroponic system is key to its success. You need to think about light, temperature, and humidity. These factors help create the best environment for your plants to grow.
Light Requirements
Plants need enough light to grow well. Sunny spots or direct sunlight are perfect for urban farming. But, if you’re indoors, you’ll need to use artificial lights. LED grow lights are a good choice because they mimic natural light.
Temperature and Humidity Control
Keeping the right temperature and humidity is vital. Most plants do best in temperatures between 65-75°F (18-24°C). Good air flow helps control these levels and prevents mold or mildew.
Space Considerations
Think about the space you have and how to use it well. Vertical farming methods, like stacked trays, are great for small spaces. They help you make the most of limited areas.
Also, pick a spot that’s easy to get to for upkeep and harvesting. This will help your indoor garden thrive over time.
| Factors to Consider | Recommended Conditions |
|---|---|
| Light Requirements | 12-18 hours of light per day, preferably from LED grow lights or natural sunlight |
| Temperature | 65-75°F (18-24°C) |
| Humidity | Maintain proper ventilation to prevent mold and mildew |
| Space | Utilize vertical farming techniques to maximize limited space |
By thinking about these factors, you can make a thriving indoor hydroponic garden. It will give you a great harvest, no matter the space or climate.
Best Plants for Hydroponic Growing
Hydroponic gardening opens up a world of possibilities for plant selection. Whether you’re new or experienced, many plants do well without soil. Leafy greens like lettuce, spinach, and Swiss chard are great for beginners. They grow fast, need little care, and can be picked over and over.
For more variety, herbs like basil, parsley, oregano, cilantro, and mint do well in hydroponic systems. They add color and flavor to your indoor vertical farming and can spice up your cooking.
As you get more skilled, try growing fruiting plants like tomatoes, strawberries, and hot peppers. These plants need more care but offer the joy of picking your own food.
When picking plants for your hydroponic garden, think about their needs. Consider light, size, and the right system. Choosing wisely will help you grow more and enjoy a constant harvest.
“Hydroponic vertical farming on just 1.5 acres can produce up to 2.7 million servings of leafy greens annually, using 90% less water compared to traditional farming methods.”
Ideal Hydroponic Plants and Their Maturity Timelines
- Lettuces – 25-60 days to maturity
- Spinach – 28-55 days to maturity
- Kale – 50-55 days to maturity
- Swiss Chard – 60-65 days to maturity
- Arugula – 40-45 days to maturity
- Basil – 65-70 days to maturity
- Parsley – 60-75 days to maturity
- Cilantro – 55-75 days to maturity
- Dill – 40-60 days to maturity
- Mint – 30-40 days to maturity
- Strawberries – 28-42 days to maturity
- Tomatoes – 75-90 days to maturity
Choosing the right plants for your hydroponic gardening setup means a constant supply of fresh, healthy food. Whether it’s leafy greens, herbs, or fruiting plants, match the plant’s needs with your indoor gardening system’s capabilities.

Selecting Your Hydroponic Growing Medium
Choosing the right growing medium is key for a beginner’s indoor hydroponics setup. It supports your plants, keeps moisture and nutrients, and helps roots grow well. Looking into soilless cultivation options can help you pick the best for your diy hydroponics project.
Types of Growing Media
Here are some common hydroponic growing media:
- Rockwool: This mineral-based material is great for water and air retention, helping roots grow strong.
- Perlite: A light, porous volcanic rock that improves aeration and drainage.
- Vermiculite: A mica-based material that holds water well.
- Coconut coir: An eco-friendly, sustainable option from coconut husks.
- Clay pebbles: Also known as hydroton, these porous, pH-neutral pebbles offer superb aeration.
Pros and Cons of Different Media Options
Each growing medium has its own benefits and drawbacks. Rockwool holds water well but can be hard to handle. Perlite and vermiculite improve aeration but need more water. Coconut coir is eco-friendly, while clay pebbles are pH-neutral and reusable. Think about water retention, aeration, pH neutrality, and reusability when picking your hydroponics for beginners growing medium.
Media Preparation Tips
Proper preparation of your chosen growing medium is vital for your plants’ growth in a soilless cultivation setup. This might involve pre-soaking, rinsing, or pH balancing. Follow the manufacturer’s guidelines and test pH and nutrient levels to ensure your plants do well in your diy hydroponics system.
“Choosing the right growing medium is essential for creating a successful indoor hydroponic system.” – Expert Gardener, Jane Doe
Water and Nutrient Solution Management
Managing water and nutrient solutions is key in hydroponic gardening. You’ll need special hydroponic nutrients with essential nutrients. Keeping the pH between 5.5 and 6.5 is vital for nutrient uptake.
It’s important to test and adjust pH and nutrient levels often. Change the solution every 1-2 weeks, or more if needed. Also, make sure the solution is well-oxygenated to avoid root rot and support plant growth.
- Maintain pH levels between 5.5 and 6.5 to ensure optimal nutrient absorption.
- Test and adjust pH and nutrient levels regularly to keep your system balanced.
- Replace the nutrient solution every 1-2 weeks, or as necessary, to sustain plant health.
- Ensure proper oxygenation of the solution to prevent root rot.
Mastering water and nutrient management will help your hydroponic gardening thrive. This is a critical part of indoor hydroponic systems. It ensures your plants get the nutrients they need, leading to a rich harvest from your automated hydroponics system.

Setting Up Your Indoor Hydroponic System
Creating your own indoor hydroponic system is rewarding and efficient. It lets you grow fresh produce at home. Whether you’re new or experienced, setting up your DIY hydroponic system has a few key steps. Let’s explore the basics of putting together your indoor hydroponic system and making sure it’s ready for your plants to thrive.
System Assembly Guide
Begin by unpacking and organizing your indoor hydroponic system’s parts. Follow the manufacturer’s instructions or your DIY plan to assemble the grow tray, reservoir, and support structures. Confirm that every connection is tightly sealed to prevent any leaks.
Installing Pumps and Timers
Next, set up the essential equipment for your hydroponic system. Place the air pump and air stone in the reservoir to keep the nutrient solution oxygenated. Position the water pumps and timers as needed, ensuring the water circulates properly. If using grow lights, arrange them for the best plant growth.
Testing Your Setup
Before adding plants, test your system. Run it with plain water for a few days to check for leaks and ensure pumps and timers work. Test the water’s pH levels and adjust them as needed for the best plant growth.
After testing, you’re ready to add your plants and start your diy hydroponics journey. With a well-designed and assembled indoor hydroponic system, you’ll enjoy a rich harvest from your home.
Maintaining Optimal Growing Conditions
To have a thriving indoor hydroponic garden, you must stay on top of maintenance. Check the pH and nutrient levels in your water every day. Give your plants a little extra care by adjusting things as needed to keep them flourishing.
Change the nutrient solution regularly and make sure the reservoir is always full. Clean and sanitize the whole system between crops to avoid disease and contamination.
Look at your plants often for pests or nutrient problems. Fix any issues quickly. Prune and harvest your crops regularly to help them grow well and get the most yield.
Keep the light and temperature the same for your plants. This helps them grow best.
If you have an automated hydroponic system, check everything often. Make sure pumps and timers work right. This care keeps your hydroponic gardening and indoor gardening thriving. Following automated hydroponics best practices leads to a rich harvest from your garden.

