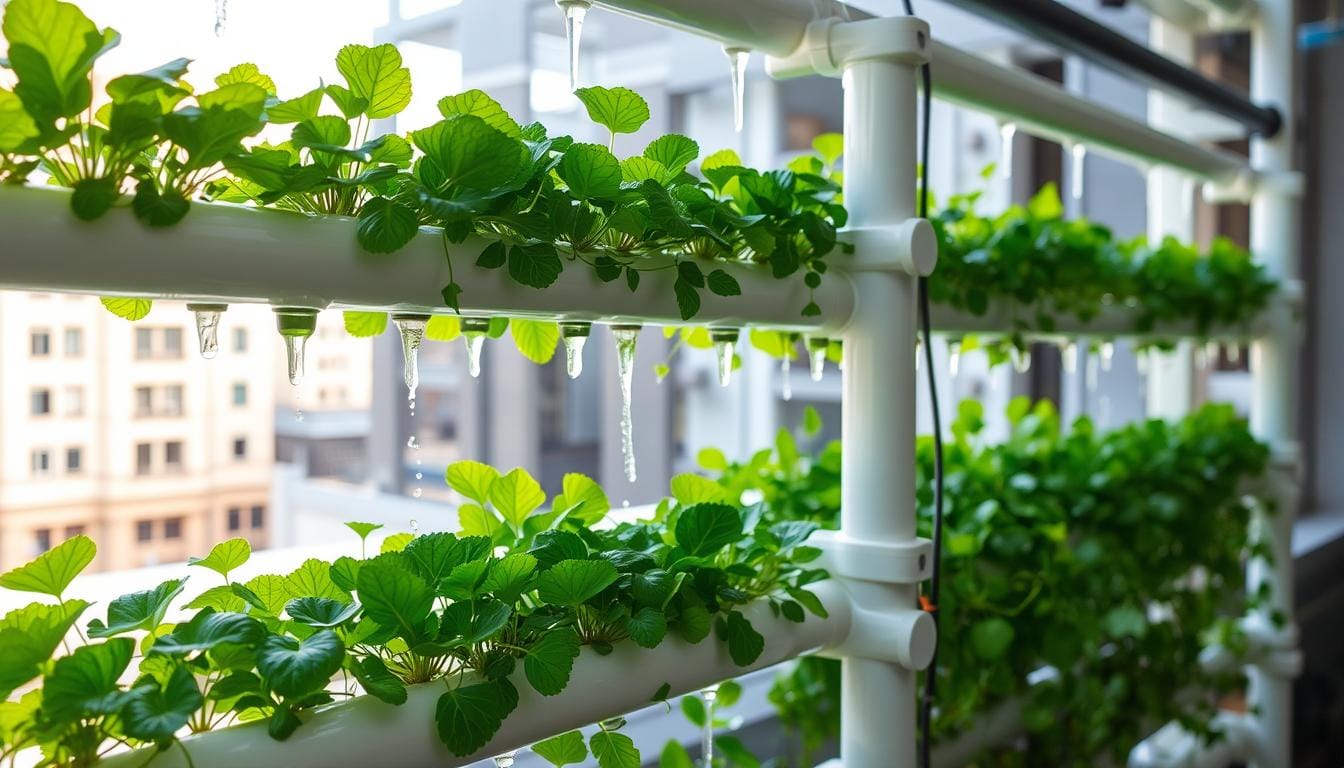
I’ve always wanted to taste fresh homegrown produce. I found the amazing world of vertical hydroponics. It lets you grow many plants without soil, right at home, even with little space.
Imagine having a garden’s bounty, even in a busy city or small apartment. Vertical hydroponic systems make it easy. You can grow fresh herbs, greens, and veggies, saving money and the planet.
Key Takeaways
- Build a vertical hydroponic system for under $50 using readily available materials.
- Grow a variety of plants, including leafy greens, herbs, and compact vegetables, without soil.
- Enjoy year-round gardening in a space-saving setup with minimal maintenance.
- Minimize water consumption significantly compared to traditional gardening methods.
- Create a sustainable, cost-effective, and eco-friendly way to cultivate your own fresh produce.
Benefits of DIY Hydroponic Growing
DIY hydroponic systems bring many benefits. They save space, making it easy to grow plants in small areas. You can also grow plants all year, no matter the season.
Cost-Effective Gardening Solution
DIY hydroponics is cheaper than regular gardening or buying organic food. Vertical farming cuts labor costs by 30% compared to traditional farms. Eden Green Technology uses 98% less water and 90% less light energy than traditional farming. This means big savings for you.
Space-Saving Benefits
Vertical farming saves space with systems like racks and towers. It lets you grow plants in small spaces, perfect for city living. It’s great for those with little room indoors or outdoors.
Year-Round Growing Potential
Hydroponics let you grow plants all year. It uses less water and pesticides than regular farming. This means you get fresh produce all year long.
“Vertical farming consumes a considerable amount of energy and demands a controlled climate, numerous plant lights, and specialized equipment making initial costs higher.”
Essential Materials and Budget Breakdown
Building a vertical hydroponic system for under $50 is doable. It’s a great way to garden without spending a lot. Focus on the basics that make a hydroponic system work, skipping the extras.
You’ll need a few key things:
- A plastic storage bin with a lid ($5-$10)
- Net pots for your plants ($5)
- Hydroponic growing medium, such as coco coir or perlite ($10)
- An air pump with tubing ($10-$15)
- Liquid nutrient solution ($10)
- Seedlings or seeds
If your area doesn’t get enough sunlight, add grow lights for about $15. This will keep your total under $50. This way, you can start a hydroponic supplies system without spending too much.
Using DIY materials lets you make a working vertical hydroponic system. It’s perfect for those on a budget gardening plan. With some creativity, you can grow your own food at home.
“The beauty of a DIY hydroponic system is that it allows you to customize it to your specific needs and space, all while keeping costs low. It’s a game-changer for anyone looking to start their own urban garden.”
Understanding Vertical Hydroponic System Components
Vertical hydroponic systems are great for saving space and growing plants efficiently. They don’t need soil. Instead, they use a special setup to give plants what they need to grow well. Let’s look at the main parts of a vertical hydroponic system.
Nutrient Delivery System
The heart of a hydroponic system is the nutrient delivery system. It uses an air pump to mix oxygen into the water. This system also spreads the nutrient-rich solution to the plants. This way, plants get the nutrients they need evenly, helping them grow strong.
Lighting Requirements
Plants need certain light types for photosynthesis. Vertical hydroponics can use sunlight or LED grow lights. It’s important to think about how much light, for how long, and what kind is best for the plants.
Growing Medium Options
Hydroponic systems use different growing media. These media help roots grow, keep water and nutrients balanced, and add oxygen. Options include clay pebbles, coco coir, and Rockwool. Each has its own benefits and can affect how well the system works.
Knowing about the nutrient delivery system, lighting, and growing media helps you create a great vertical hydroponic system. It saves space, uses less water, and gives you fresh produce all year.
| Hydroponic Component | Description | Benefits |
|---|---|---|
| Nutrient Delivery System | Uses an air pump to oxygenate and distribute nutrient-rich solution | Ensures consistent and even nutrient delivery for healthy plant growth |
| Lighting | Utilizes natural sunlight or LED grow lights to provide the necessary wavelengths for photosynthesis | Supports optimal plant development and growth |
| Growing Medium | Options include clay pebbles, coco coir, and Rockwool to support roots and maintain water-nutrient balance | Provides physical support and promotes healthy root growth |
Tools and Equipment Needed
Setting up a vertical hydroponic system doesn’t need a lot of special tools. You can find most of what you need at home or at a local hardware store. Let’s look at the key tools and materials for your vertical hydroponic garden.
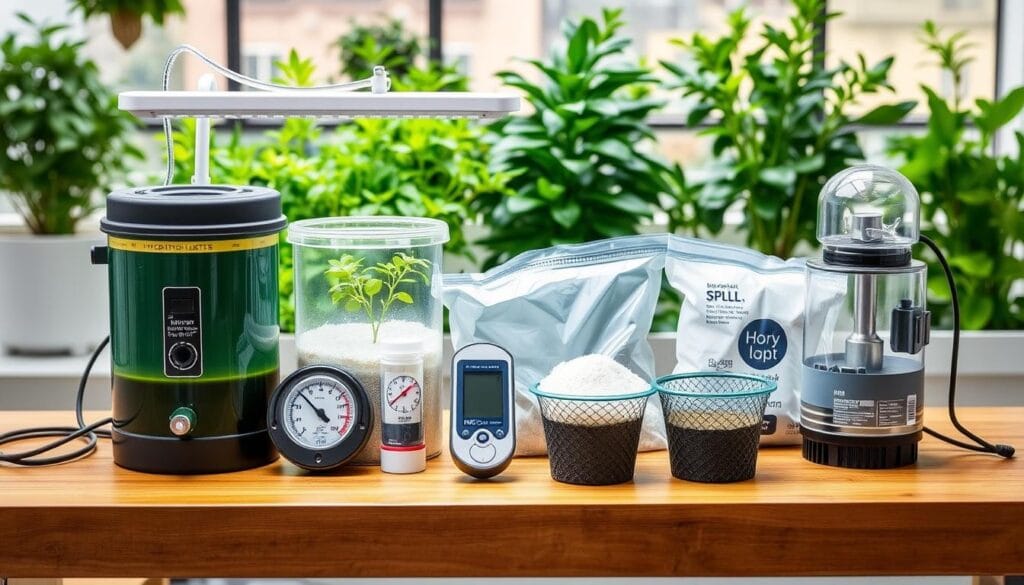
You’ll first need a drill to make holes in the container lid for your plants. A simple cordless drill works well. Also, have a ruler or measuring tape ready for precise nutrient mixing and setup.
- Cordless Drill
- Ruler or Measuring Tape
For planting and caring for your garden, you’ll need some basic gardening tools. These include:
- Trowel for transplanting seedlings
- Scissors or pruning shears for trimming plants
- pH testing kit to monitor the nutrient solution
- Use an EC (Electrical Conductivity) meter to measure the concentration of nutrients.
One of the best things about DIY vertical hydroponics is using items you already have. This approach helps you save money and focus on what really matters for your garden’s success.

Step-by-Step Assembly Instructions
Building a vertical hydroponic system is an exciting project. It can turn a small space into a thriving garden. Whether you’re new or experienced, the assembly is easy and can be done in a few hours. Let’s go through the steps to get your DIY hydroponics setup ready.
Frame Construction
The foundation of your garden is the frame. You can choose a simple shelving unit or build a custom structure. Make sure the spacing between tiers is enough for the growing containers and light.
Plumbing Setup
The heart of your system is the nutrient delivery. Start by installing the air pump and connecting the tubing. This ensures a steady flow of nutrient-rich water to your plants. Keep the water depth around an inch to avoid problems.
Growing Container Installation
Prepare the growing containers by drilling holes for the net pots. Place the containers on the frame, ensuring even spacing and alignment. This is key for maximizing space and growth conditions.
With the frame, plumbing, and containers set up, you’re close to a thriving vertical hydroponic garden. Adjust the lighting, manage the nutrient solution, and check your plants often for success.
Nutrient Solution Preparation and Management
Keeping your nutrient solution healthy is key for your vertical hydroponic system’s success. To make sure your plants get the nutrients they need, follow these steps for preparing and managing the solution.
Start by mixing the hydroponic nutrient solution as the package instructions say. Put the solution in the container, making sure the net pots’ bottoms are covered. Keep an eye on the water levels and add more as needed to keep the roots moist.
Change the nutrient levels based on your plants’ growth stages. For example, plants growing need more nitrogen. But when they’re flowering or fruiting, they need more phosphorus and potassium.
| Nutrient | Solubility in Cold Water | Solubility in Hot Water |
|---|---|---|
| Calcium Nitrate | 121.2 g/100 ml | 376 g/100 ml |
| Ammonium Nitrate | 118.3 g/100 ml | 871 g/100 ml |
| Potassium Nitrate | 13.3 g/100 ml | 47 g/100 ml |
| Potassium Phosphate Monobasic | 33 g/100 ml | 83.5 g/100 ml |
| Magnesium Sulfate | 71 g/100 ml | 91 g/100 ml |
| Zinc Sulfate | 96.5 g/100 ml | 663.6 g/100 ml |
| Copper Sulfate | 31.6 g/100 ml | 203.3 g/100 ml |
| Manganese Sulfate | 52 g/100 ml | 70 g/100 ml |
Keeping the pH between 5.5 and 6.5 is also crucial for nutrient uptake. Test the pH often and adjust it as needed. Also, use timers to control oxygenation, ensuring your plants get enough air for growth.
By carefully managing hydroponic nutrients, water management, and plant nutrition in your vertical hydroponic system, you’ll have a thriving garden.

“Proper preparation and management of the nutrient solution are essential for successful vertical hydroponic gardening.”
Best Plants for Vertical Hydroponics
Choosing the right plants is key for a thriving vertical hydroponic system. Leafy greens, herbs, and compact veggies do well here. They grow well in small spaces, giving you lots of food with little room.
Leafy Greens Options
Leafy greens are perfect for vertical hydroponics. Lettuce, spinach, and kale grow fast and give you fresh leaves often. They are nutrient-rich and easy to cultivate.
Herb Selections
Herbs also shine in vertical hydroponics. Basil, mint, and parsley love the controlled environment. They add great flavor and are easy to care for.
Compact Vegetables
Compact veggies are great for vertical gardens. Cherry tomatoes and radishes grow well in small spaces. They produce a lot of food with little effort.
Choosing the right plants for your vertical garden boosts your harvest. You’ll get fresh food all year. Plus, you’ll save space indoors or outdoors. Your garden will be a lush spot for hydroponic crops, indoor vegetable gardening, and vertical farming plants.
“With just 1.5 acres, a hydroponic vertical farming system can produce up to 2.7 million servings of leafy greens annually.”
Lighting Setup and Requirements
Proper lighting is key for your vertical hydroponic system’s success. You’ll need high-quality grow lights to mimic natural sunlight. This is important for your plants to thrive.
Choose LED lighting with a daylight spectrum for the best results. These LED grow lights are energy-efficient and cover all light wavelengths plants need. Look for 75-watt equivalent daylight spectrum LED bulbs to evenly light your setup.
- Position the lights for even coverage across all plants. This prevents shadows or too much light.
- Keep a light cycle of at least 10 hours a day. Adjust as needed for your plants’ growth stage.
- Check the light distance from your plants. Keep it at the recommended height to avoid damage.
With the right indoor garden illumination, your vertical hydroponic system will thrive. You’ll have a productive indoor garden.
“Proper lighting is essential to maximizing the potential of your vertical hydroponic system. With the right grow lights, you can create the ideal growing environment for your plants to flourish.”
Maintenance and Monitoring Guidelines
Keeping your hydroponic system healthy needs regular care. It’s important to watch your indoor garden closely. This ensures your plants stay healthy and your system works well. Follow these tips to keep your vertical hydroponic garden thriving all year.
Monitoring Water Levels and Nutrient Concentrations
Always check the water in your hydroponic system. Add more as necessary to maintain the correct depth. Also, use a meter to check the solution’s electrical conductivity (EC) and pH. Most plants do best with an EC of 1.0 to 2.5 mS/cm and a pH of 5.5 to 6.5.
Cleaning and Maintaining the System
Clean your hydroponic parts often. This includes the growing containers, tubing, and pumps. Use a mix of 1 part hydrogen peroxide to 10 parts water for cleaning. Change the nutrient solution every 1-2 weeks to keep nutrients fresh and prevent salt buildup.
Adjusting Lighting and Temperature
Seedlings need 16-18 hours of light a day. Seedlings need 16-18 hours of light a day. Mature plants do well with 12-14 hours. Keep the air temperature between 70°F and 80°F (21°C – 27°C) and the humidity at 40%-60% for best growth.
Monitoring Plant Health
Check your plants often for signs of stress or disease. Look for leaf color changes, wilting, or slow growth. Fix any problems quickly by adjusting nutrients, cleaning, or using Integrated Pest Management (IPM) strategies. This keeps your plants healthy.
By following these maintenance and monitoring guidelines, your vertical hydroponic system will thrive. Enjoy a lush indoor garden all year.
| Maintenance Task | Frequency |
|---|---|
| Check water levels | Daily |
| Monitor EC and pH | Weekly |
| Clean system components | Monthly |
| Replace nutrient solution | Every 1-2 weeks |
| Adjust lighting | As needed |
| Inspect plant health | Weekly |
Troubleshooting Common Issues
Keeping your vertical hydroponic system healthy means watching it closely and fixing problems fast. You might face issues like nutrient imbalances, plant health problems, or system failures. Knowing how to solve these problems helps your garden stay vibrant.
Nutrient Deficiencies
It’s vital to make sure your plants get the right nutrients. If they don’t, you might see yellow leaves, slow growth, or color changes. Check the nutrient solution often and adjust it as needed. Also, keep an eye on the pH levels, as changes can affect how plants absorb nutrients.
Plant Health Problems
Pests and diseases can harm your plants quickly. Look for signs like wilting, color changes, or bugs. Resolve issues promptly to prevent them from escalating. Use natural ways to control pests, like introducing beneficial bugs or organic sprays, to keep your plants healthy.
System Malfunctions
The parts of your hydroponic system, like pumps and lights, need regular care. Watch them closely and fix any problems right away. Make sure your system is sealed well to avoid root rot from light. Also, keep the water temperature and air flow steady for healthy plant growth.
By being alert and fixing problems quickly, your hydroponic system will thrive. Remember, quick action and caring for your plants are key to success in hydroponic gardening.
| Issue | Symptom | Potential Cause | Solution |
|---|---|---|---|
| Nutrient Deficiency | Yellowing leaves, stunted growth | Imbalanced nutrient solution | Test and adjust nutrient concentrations, maintain proper pH levels |
| Plant Health Problems | Wilting, discoloration, pests | Pest infestations, diseases | Inspect plants regularly, use natural pest control methods, treat diseases promptly |
| System Malfunctions | Pump failure, light exposure, temperature/aeration issues | Faulty equipment, improper maintenance | Regularly check and maintain system components, ensure proper environmental conditions |
“Proactive troubleshooting is the key to keeping your vertical hydroponic system thriving and productive.”
System Upgrades and Modifications
As your DIY vertical hydroponic system grows, you might want to add upgrades and changes. These can make your system better at growing plants, more efficient, and open to new techniques.
Adding more growing levels to your vertical garden is a good idea. It lets you grow more plants and increase your harvest. You can build new tiers or use modular parts that stack easily.
Setting up automated monitoring and control systems is also a smart move. This lets you track water flow, nutrient levels, and temperature. You can connect these to smart devices or a central panel for easy monitoring and adjustments.
Trying out different hydroponic methods, like aeroponics or ebb and flow systems, can be a great upgrade. These methods can improve oxygen delivery or use water more efficiently. They help make your vertical garden even better.

